Tile, Grout, and Waterproofing in Burlington, NC Bathrooms: What Homeowners Need to Know Before the Remodel
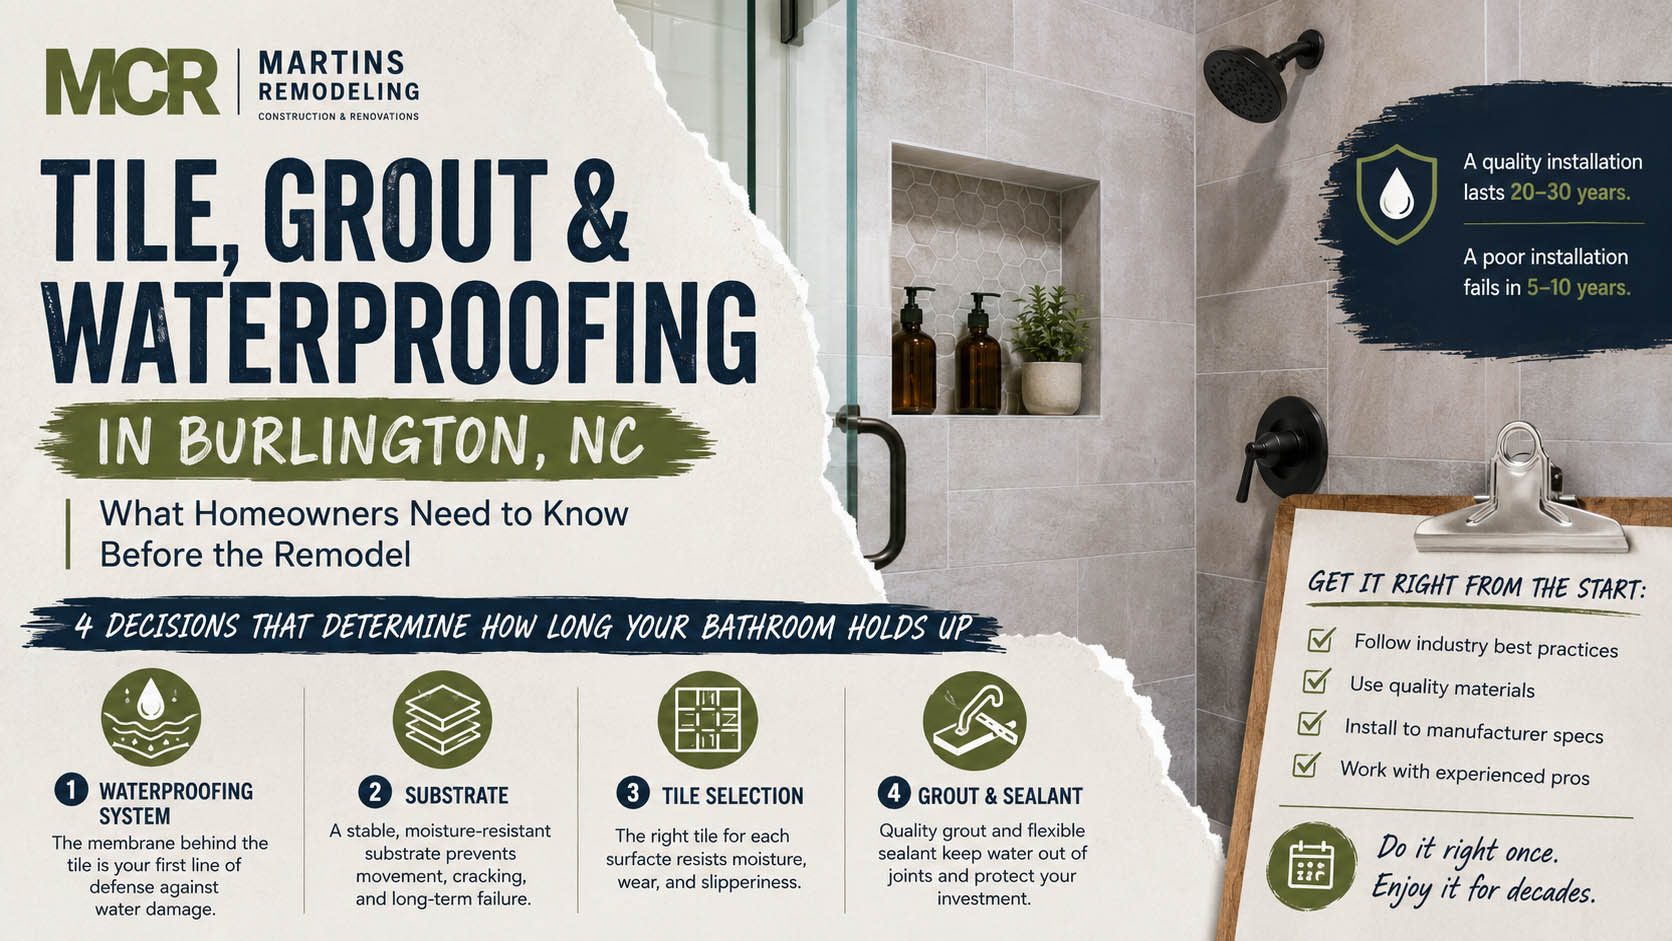
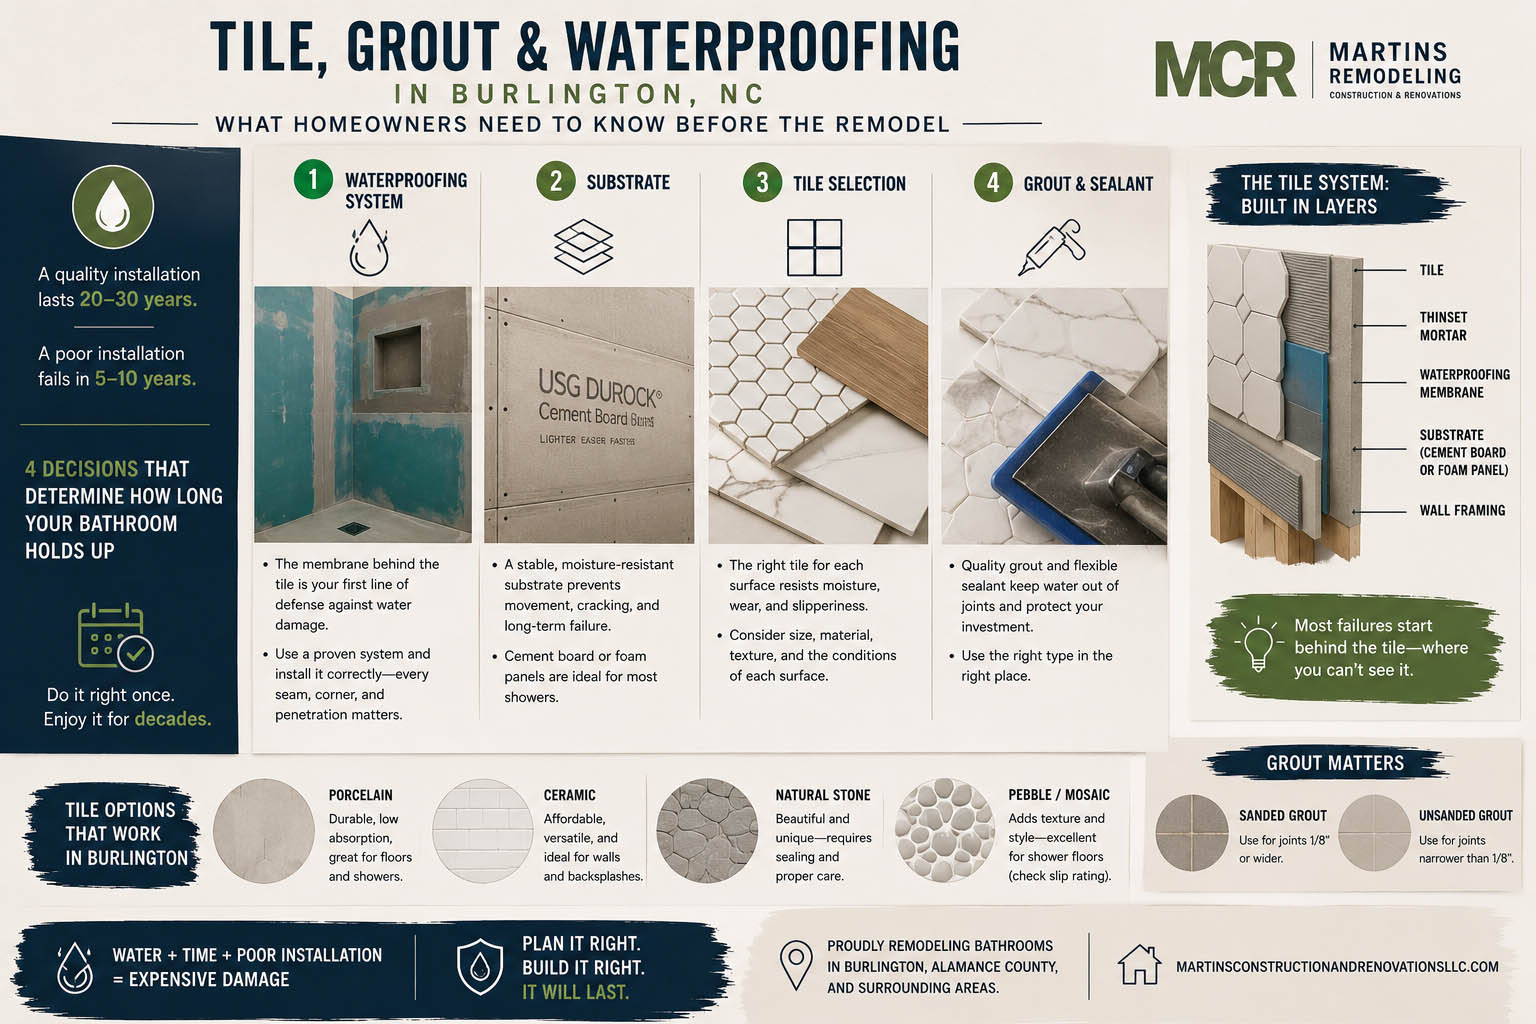
Quick answer: A bathroom tile installation lasts 20 to 30 years when done correctly and fails within 5 to 10 years when done badly. The difference comes down to four technical decisions made before the first tile is set: the waterproofing system behind the tile, the substrate the tile is bonded to, the type of tile chosen for each surface, and the grout and sealant specified for the joints. In Burlington, NC, where humidity, older housing stock, and seasonal temperature swings stress tile assemblies harder than national averages suggest, getting these four decisions right is the single biggest factor in whether your remodel holds up.
Tile work is the most visible craft in any bathroom remodel and the most failure-prone. A poorly installed shower looks great for the first year, looks acceptable for the next three, and begins quietly failing somewhere around year four when water that has been wicking through grout and into the substrate finally produces visible damage. By the time the failure shows up inside the shower, it has usually already damaged the framing, subfloor, or adjacent rooms.
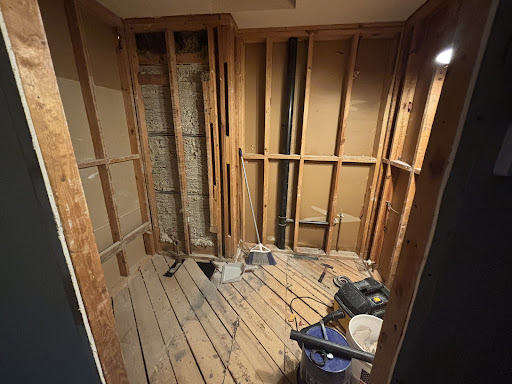
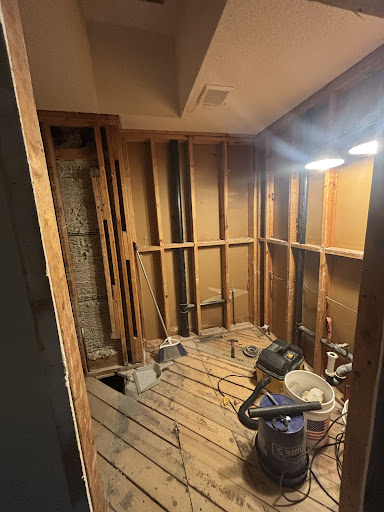
We’ve torn out a lot of failed bathroom tile work in Burlington, Graham, Elon, Mebane, and across Alamance County. The failures share patterns. Almost none of them are caused by tile defects or by aggressive use. Nearly all of them trace back to one or more of the four decisions above, made wrong at the start. This article covers what those decisions are, how to evaluate whether a contractor is making them correctly, and what Burlington homeowners specifically need to think about given our climate and housing stock.
Tile, Grout, and Waterproofing in Burlington, NC Bathrooms – Martins Construction and Renovations | Bathroom and Kitchen Remodeling
What waterproofing actually means in a bathroom
A bathroom waterproofing system is a continuous, sealed membrane installed between the substrate (the wall or floor framing material) and the tile assembly, designed to prevent water from migrating past the tile and into the structure. Tile and grout are not waterproof. They are water-resistant at best. Every grout joint in a shower is a slow-permeability path for water vapor and liquid, and over time that water reaches the substrate behind the tile. Whether the bathroom holds up for twenty years or fails in five depends almost entirely on what that water finds when it gets there.
The waterproofing systems used in quality bathroom construction fall into three categories. Sheet membrane systems (Schluter Kerdi, Wedi, Laticrete Hydro Ban Board) involve a fabric or foam membrane bonded to the substrate with thinset, with seams and corners sealed using system-specific banding and corner pieces. Liquid-applied membrane systems (RedGard, Hydro Ban liquid, Mapei Mapelastic) involve rolling or troweling a waterproof coating onto the substrate, typically requiring two coats with reinforcing fabric at corners and seams. Pre-formed foam panel systems (Wedi panels, Schluter Kerdi-Board, Hydro Ban Board) replace the substrate entirely with waterproof foam panels that are sealed at the seams.
All three systems work when installed correctly to the manufacturer’s specification. The system matters less than the installer’s discipline. A Schluter Kerdi shower installed sloppily fails as fast as a RedGard shower installed sloppily. What separates a twenty-year shower from a five-year shower is whether every corner, every penetration, every seam, and every transition was treated according to the manufacturer’s instructions.
What does not constitute waterproofing: cement backer board alone (the board is water-resistant but the seams and screw heads are not), greenboard or mold-resistant drywall (designed for damp environments, not wet ones), tile and grout on bare drywall (a code violation in wet areas and an immediate failure point), and painted-on sealers applied over installed tile (a marketing product, not a real waterproofing solution).
The substrate question, and why it matters more than the tile
The substrate is the material directly behind the waterproofing membrane, and it bears the structural load of the tile assembly. Substrate choice affects how the wall handles long-term moisture exposure, how much weight it can support, and how much it moves with seasonal temperature and humidity changes.
The substrate options for a modern Burlington bathroom shower are cement backer board (Durock, HardieBacker, Wonderboard, all roughly equivalent), fiber-reinforced gypsum board (Densshield, which is waterproof on its face but vulnerable at cuts and seams), pre-formed foam panel systems that combine substrate and waterproofing in one product (Wedi, Schluter Kerdi-Board), and traditional mortar bed (the old-school method, rarely used now except by specialty installers).
For most Burlington bathroom remodels we recommend either cement backer board with a sheet or liquid waterproofing membrane installed over it, or a pre-formed foam panel system that integrates the substrate and waterproofing. Both perform well over decades when installed correctly. The pre-formed foam systems cost more in material but install faster and have fewer failure points at seams. The cement-board-plus-membrane approach costs less in material but requires more installer skill at the waterproofing stage.
Greenboard and standard drywall are not acceptable substrates in shower walls or tub surrounds, regardless of what’s installed over them. Anyone proposing to tile directly over greenboard in a wet area is either uninformed or cutting corners that will cost you tens of thousands of dollars in repair work later.
Choosing tile for a Burlington bathroom
Tile selection for a bathroom involves three separate decisions for three different surfaces: the floor tile, the wall tile in wet areas, and the wall tile in non-wet areas. Each surface has different requirements and different failure modes if specified wrong.
Floor tile in a bathroom needs to be slip-resistant when wet, dimensionally stable across temperature and humidity swings, and rated for floor use. The slip-resistance rating to look for is DCOF (Dynamic Coefficient of Friction) of 0.42 or higher per ANSI A137.1 standards. Porcelain tile is the dominant floor choice for modern bathrooms because it absorbs less than 0.5 percent water by weight, which means it doesn’t expand and contract with humidity the way ceramic does. Natural stone (marble, travertine, limestone) is acceptable on bathroom floors only when sealed properly and resealed regularly, and it requires more maintenance than most homeowners realize at purchase time.
Wall tile in wet areas (shower walls, tub surrounds) has fewer slip-resistance requirements and more visual ones. Porcelain, ceramic, glass, and natural stone all work. The key technical considerations are weight (heavy stone or large-format tile requires substrate prep to handle the load), thermal mass (large stone slabs can crack with rapid temperature changes from hot showers in cold rooms), and color stability over time (some natural stones and certain glazes change color with repeated water exposure).
Wall tile in non-wet areas has the most flexibility. Decorative ceramic, handmade tile, glass mosaics, and almost any other tile option works on accent walls or backsplash zones not subject to direct water exposure.
Tile size affects more than aesthetics. Large-format tiles (anything 15 inches or larger in any dimension) require flatter substrate preparation than small tiles because they don’t conform to substrate irregularities. The industry standard for large-format tile is a substrate flatness tolerance of 1/8 inch in 10 feet, which is significantly flatter than typical drywall or backer board installation. If a contractor proposes large-format tile without discussing substrate flatness, that’s a red flag.
Grout selection and why it fails
Grout is the second-leading cause of bathroom tile failure after waterproofing problems, and it’s the failure point homeowners notice first because it’s visible without demolition. Grout failures show up as cracking, crumbling, discoloration, mold growth, or staining. All of these problems trace back to either grout selection, installation, or maintenance.
The two main grout categories for bathroom use are cementitious grout (sanded or unsanded, the traditional choice) and epoxy grout (a two-part chemical-cure product that is significantly more durable and more expensive).
Cementitious grout is porous, which means it absorbs water, soap residue, body oils, and dirt over time. It needs to be sealed at installation and resealed every one to three years for the life of the installation. Sanded cementitious grout is used for joints wider than 1/8 inch. Unsanded cementitious grout is used for joints 1/8 inch or narrower, including most glass and polished stone installations where sanded grout would scratch the surface. Properly installed and maintained cementitious grout lasts the life of the installation. Improperly installed or never-resealed cementitious grout starts failing in three to five years.
Epoxy grout (Laticrete Spectralock, Mapei Kerapoxy, Custom Building Products’ CEG-Lite) is essentially waterproof, stain-resistant, and does not require sealing. The tradeoff is installation difficulty and cost. Epoxy grout is harder to install correctly, has a short working time, requires more skilled labor, and costs three to five times more than cementitious grout. For bathrooms where minimal maintenance is a priority, where the installation includes light or white grout that would show staining over time, or where the budget supports it, epoxy is the better long-term choice.
Grout color matters more than most homeowners realize. White grout shows everything (mold, mildew, soap residue, hair dye), particularly in shower zones. Mid-tone grouts (warm grays, beiges) are the most forgiving over time. Dark grouts hide staining but show efflorescence (the white powder that develops on cementitious grout from dissolved minerals in water) more prominently. In Burlington, where the municipal water supply has measurable mineral content, efflorescence on dark grout is a common cosmetic issue.
Why Burlington’s climate stresses bathroom tile harder
The Piedmont Triad’s climate creates conditions that bathroom tile assemblies in drier or more temperate climates do not face. Burlington summers run hot and humid, with average July humidity at 70 to 80 percent and bathrooms hitting near saturation during and after showers. Winters bring cold snaps that drop indoor surface temperatures in older homes, particularly along exterior walls. Spring and fall produce dramatic temperature swings within a single day.
The practical effects on bathroom tile in our market: humidity stresses every grout joint and every waterproofing seam, day in and day out, harder than in drier climates. Temperature swings cause more expansion and contraction in the substrate, framing, and tile assembly. Older Burlington homes (1950s through 1980s housing stock, common across our service area) often have undersized HVAC delivery to bathrooms and exterior-wall locations that compound the temperature swings.
This is why ventilation gets emphasized so heavily in our bathroom remodel work. An undersized or poorly vented exhaust fan in a Burlington bathroom is not a minor issue; it’s a guarantee of premature tile and grout failure. The exhaust fan should be sized for room volume (50 CFM minimum, 70+ CFM for larger bathrooms), vented to the home’s exterior (not into the attic), and ideally controlled by a humidity sensor or timer that runs for 20 minutes after the fan is switched on.
Sealing, maintenance, and what homeowners need to do after the remodel
A properly installed bathroom tile and grout system requires modest ongoing maintenance to reach its full lifespan. The maintenance is genuinely modest and consists of a small number of tasks that homeowners often skip entirely.
Grout sealing. Cementitious grout needs to be sealed at installation (most contractors do this; confirm yours does) and resealed every one to three years depending on the sealer used and the exposure. Sealers fall into two categories: penetrating sealers (which absorb into the grout and don’t change appearance) and topical sealers (which sit on the surface and can affect color). For bathrooms, penetrating sealers are the standard choice. Epoxy grout does not require sealing.
Cleaning practices. Cementitious grout is damaged by acidic cleaners, including most off-the-shelf bathroom cleaners and anything containing vinegar or citrus. Acidic cleaners etch the cement matrix in grout and accelerate failure. The correct cleaners for tile and grout are pH-neutral products specifically formulated for tile (StoneTech, Aqua Mix, Laticrete StoneTech). Hot water and a soft brush handle most routine cleaning.
Caulk maintenance. The joints where tile meets tile at changes of plane (wall-to-wall corners, wall-to-floor transitions, around the tub or shower pan) should be filled with silicone caulk, not grout. Grout in these joints cracks because the surfaces it bridges move independently with temperature and humidity changes. Silicone caulk in these joints will need to be replaced every five to seven years as it ages and discolors. A homeowner who replaces caulk on schedule and reseals grout on schedule gets the full 20 to 30-year lifespan from the installation.
Glass and shower door care. Hard water deposits on glass shower enclosures are not a tile or grout problem, but they’re often blamed on the installation. The mineral content in Burlington water supply leaves deposits on glass within days of cleaning unless the glass is squeegeed after each use or treated with a glass coating product.
How to tell if your contractor is doing it right
Most bathroom tile failures we see in the field are predictable from the contractor selection stage. The diagnostic questions that separate qualified installers from unqualified ones are technical and specific.
On waterproofing: Ask what system the contractor uses and how they treat corners and penetrations. A qualified installer should be able to name their system (Schluter Kerdi, Wedi, RedGard, or equivalent), explain the corner and penetration treatment from the manufacturer’s spec, and walk you through what happens at the shower curb and the threshold transition. A vague answer or product confusion at this stage is the clearest available signal that the project will fail prematurely.
On substrate: Ask what’s going behind the tile and why. The answer should specify a real wet-area substrate (cement backer board with membrane, or a foam panel system). If greenboard or drywall is mentioned for a shower wall, that’s an immediate disqualifier.
On tile setting: Ask about substrate flatness preparation, particularly for large-format tile. The answer should reference the 1/8-inch-in-10-feet flatness standard or describe how flatness is verified. Ask about thinset selection and whether the contractor is using a mortar appropriate for the tile size and substrate (large-format tile requires a large-format-rated mortar; not all thinset products qualify).
On grout: Ask what grout the contractor recommends, what color, and whether it will be sealed at installation. A contractor who recommends a specific grout type based on the installation (epoxy for low-maintenance, cementitious with sealing for standard use) is thinking about the long-term outcome. A contractor who shrugs at the grout question is not.
On warranty: Ask specifically what the warranty covers and for how long. A reputable bathroom tile installation in Burlington carries a workmanship warranty of at least one year, with the waterproofing assembly often warrantied separately for five to ten years through the manufacturer’s certification program. Schluter, Wedi, and Laticrete all offer extended warranties through certified installer programs. If a contractor offers no warranty or refuses to put warranty terms in writing, that is the project that fails in five years.
What it costs to do tile and waterproofing right in Burlington
Tile installation labor and materials are typically 20 to 30 percent of the total cost of a bathroom remodel in Burlington, making them the largest single line item after general labor and project management.
For waterproofing systems specifically, expect the following material and labor costs in our market:
| System | Typical installed cost for a standard shower |
|---|---|
| Liquid-applied membrane (RedGard, Hydro Ban) over cement backer board | $600 to $1,200 |
| Sheet membrane system (Schluter Kerdi) over cement backer board | $900 to $1,600 |
| Pre-formed foam panel system (Wedi, Schluter Kerdi-Board) | $1,400 to $2,400 |
For tile installation labor specifically, expect the following ranges depending on tile complexity:
| Installation type | Typical labor cost per square foot |
|---|---|
| Standard porcelain or ceramic, straight-lay pattern | $9 to $14 |
| Large-format porcelain (15 inches or larger), straight-lay | $12 to $18 |
| Subway tile or basic pattern work | $11 to $16 |
| Herringbone, chevron, or other complex pattern | $16 to $25 |
| Mosaic tile (sheet-mounted) | $14 to $22 |
| Hand-cut natural stone or custom inlay | $25 to $45+ |
Tile material costs run from $3 per square foot for builder-grade porcelain to $40+ per square foot for handmade ceramic or natural stone. A typical mid-range Burlington bathroom uses $1,500 to $4,000 in tile materials. A higher-end remodel can run $6,000 to $15,000 in tile materials alone.
The contractors who bid significantly below these ranges are either skipping the waterproofing step, using sub-grade materials, or paying labor below market for skill levels that produce inconsistent work. The math on quality tile and waterproofing does not allow for major discounting without something being sacrificed.
Frequently asked questions about tile, grout, and waterproofing in Burlington bathrooms
How long should a properly installed bathroom tile job last in Burlington? A bathroom tile and waterproofing system installed correctly should last 20 to 30 years with routine maintenance (grout sealing every one to three years, caulk replacement every five to seven years). Failures within 10 years are almost always attributable to installation errors, not material defects.
What is the best waterproofing system for a shower? The best systems are dedicated membrane products including Schluter Kerdi, Wedi, RedGard, and Laticrete Hydro Ban. All perform well when installed correctly to manufacturer specifications. The installer’s discipline at corners, seams, and penetrations matters more than the brand chosen.
Is cement board waterproof? No. Cement backer board (Durock, HardieBacker, Wonderboard) is water-resistant but not waterproof. The board itself does not absorb water, but the seams and screw penetrations allow water through unless a separate waterproofing membrane is installed over the board.
Should I use epoxy grout in my bathroom? Epoxy grout is the better long-term choice for showers and any tile zone with frequent water exposure. It costs three to five times more than cementitious grout and requires a more skilled installer, but it is essentially waterproof, stain-resistant, and does not need sealing. For homeowners who want minimal maintenance, epoxy is worth the upfront cost.
Why does my grout keep cracking at the corners? Because it is grout in a location that should be caulk. Joints where tile meets tile at changes of plane (wall corners, wall-to-floor transitions, around tub or shower pan edges) need to be filled with silicone caulk, not grout. The surfaces move independently with temperature and humidity, and rigid grout cannot accommodate that movement. This is one of the most common installation errors in bathroom tile work.
How often should I reseal my bathroom grout? Cementitious grout sealed at installation typically needs resealing every one to three years depending on the sealer used and the bathroom’s exposure. A simple test: drop water on the grout. If it absorbs within a few seconds, it needs resealing. If it beads up, the sealer is still working. Epoxy grout does not require sealing.
What’s the slip-resistance rating I need for bathroom floor tile? A Dynamic Coefficient of Friction (DCOF) of 0.42 or higher per ANSI A137.1, which is the current industry standard for floor tile installed in wet areas. Most quality porcelain bathroom floor tile meets this standard. Confirm the rating before purchase.
Can I use the same tile on the floor and the walls? Often yes, but verify the floor’s slip-resistance rating meets DCOF 0.42 or higher. Many wall tile products do not have a sufficient slip rating for floor use and should not be installed on the floor regardless of how good they look. The reverse (floor-rated tile installed on walls) is always acceptable.
What’s the most common reason bathroom tile fails early in Burlington? Inadequate waterproofing, almost always. The second most common cause is grout used at change-of-plane joints instead of caulk. The third is grout that was never sealed or resealed and absorbed water over years. All three are installation and maintenance issues, not material defects.
Should I be in the bathroom while the tile cures? No. The bathroom should not be used during the tile installation and cure period (typically 5 to 7 days from start of tile setting to completion of grout cure). Walking on freshly set floor tile or using the shower before grout has cured can damage the installation in ways that are not visible until the failure shows up later.
Get a real assessment of your bathroom tile project
Tile and waterproofing are where bathroom remodels succeed or fail, and they’re also where the most cost-cutting and corner-cutting happens. The contractors who do this work right are not the cheapest bidders, and the cheapest bidders are not doing this work right.
Our consultations include walking through the tile and waterproofing decisions specifically: what system we recommend for your space, what tile choices make sense for your budget and use case, what’s behind the wall in your existing bathroom that affects scope, and what the realistic cost is for the level of quality you want. We will also tell you honestly when a project is or is not a fit for our team.
Schedule your free bathroom consultation with Martin’s Construction & Renovations
For the full bathroom remodel process, see our bathroom remodeling pillar article. For the cost breakdown across all bathroom types, see bathroom remodel cost in Burlington, NC. For shower-specific decisions, see walk-in shower vs. tub-to-shower conversion. For small-bathroom-specific strategies, see small bathroom remodel ideas.